Introduction
Powering your Arduino board is crucial for any project, and there are various methods to do it. In this guide, we’ll explore five different ways to power up your Arduino. Whether you’re working on a portable project, a stationary one, or you have specific power requirements, we’ve got you covered.
USB Cable
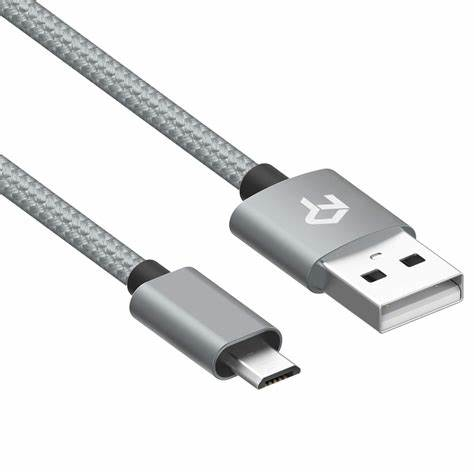
The most common and straightforward way to power your Arduino is through a USB cable. Simply connect your Arduino board to your computer or a USB power source using a USB Type-A to Type-B cable. Your Arduino board will be powered as long as it’s connected to a functioning USB port. This method is convenient for development and debugging since it allows you to both power and program your board simultaneously.
Battery Power

If you need your Arduino project to be portable, battery power is an excellent choice. You can use various types of batteries, such as AA or AAA batteries, rechargeable LiPo batteries, or even a 9V battery. To power your Arduino using batteries, you’ll need a battery holder and the appropriate voltage regulator if your battery voltage exceeds the Arduino’s operating voltage. Remember to consider the capacity and voltage requirements of your project to select the right battery solution.
External Power Supply
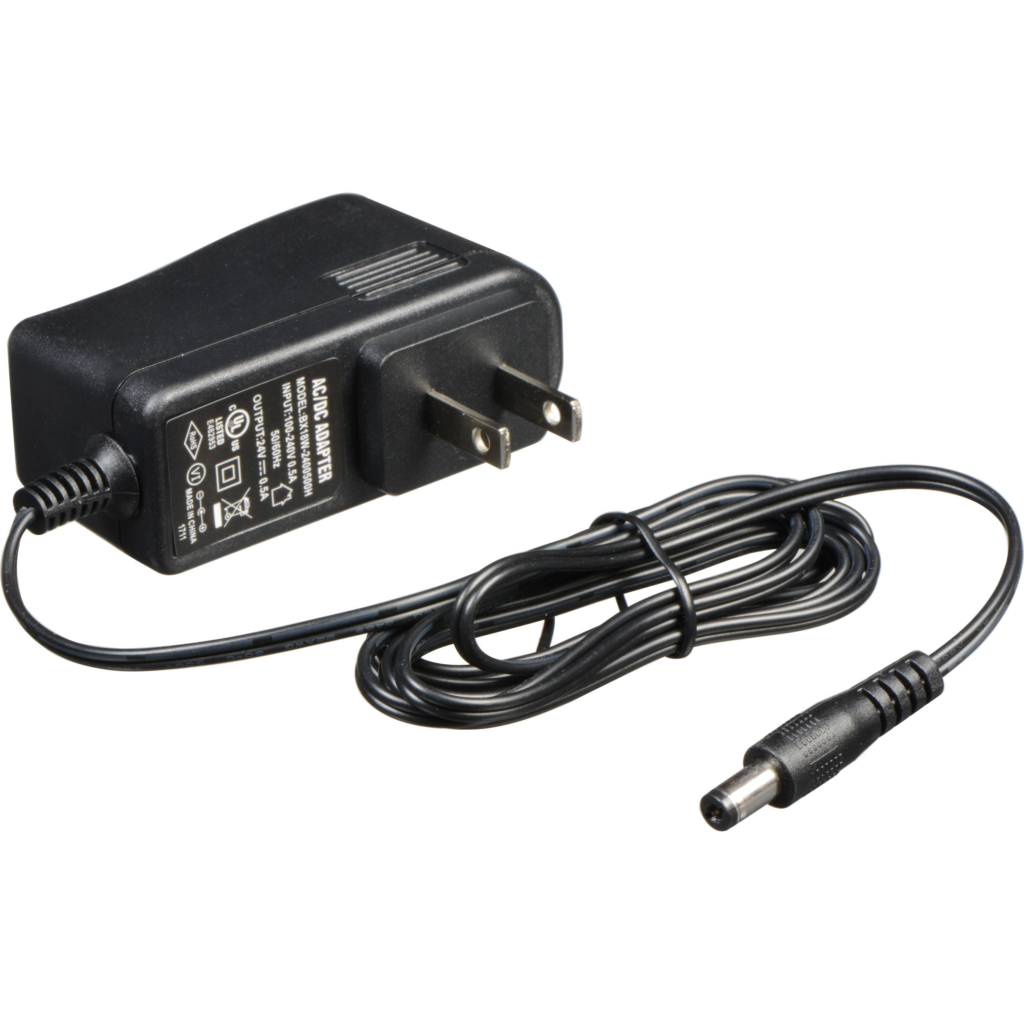
For stationary projects or those that require a stable power source, an external power supply is ideal. You can use a wall adapter or a bench power supply that provides a steady voltage and current to your Arduino. Ensure the voltage matches your Arduino’s requirements (usually 7-12V for most Arduino boards), and connect it to the Arduino’s power jack or VIN pin.
Solar Power

For eco-friendly and remote projects, consider harnessing the power of the sun. Solar panels can charge batteries that, in turn, power your Arduino. This is particularly useful for projects like weather stations, outdoor sensors, or remote monitoring systems. You’ll need a solar panel, a charge controller, and a battery to store the solar energy. Make sure to calculate your power consumption and choose components accordingly.
Power over Ethernet (PoE)
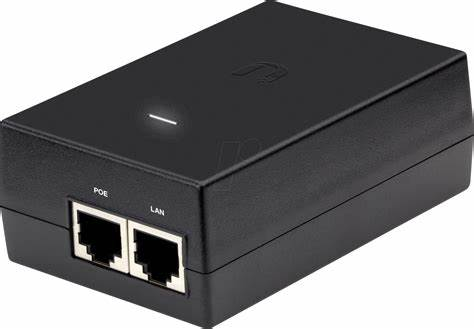
If your project involves Ethernet connectivity, Power over Ethernet (PoE) is a convenient way to provide both data and power to your Arduino. PoE uses the Ethernet cable to deliver power, eliminating the need for an additional power source. To use PoE, you’ll require a PoE switch or injector and a compatible Ethernet shield or board. This method is ideal for networked applications, such as IoT devices and data loggers.
Conclusion
Powering your Arduino project effectively is essential for its functionality and reliability. Depending on your project’s requirements, you can choose from USB power, batteries, external power supplies, solar power, or Power over Ethernet. Each method has its advantages and trade-offs, so select the one that best suits your project’s needs. With the right power source, your Arduino can run smoothly, helping you bring your creative ideas to life.

Leave a Reply