Introduction
Monitoring heart rate is crucial for fitness enthusiasts, healthcare applications, and sports professionals. In this tutorial, we’ll explore how to interface a heart rate sensor module with the Arduino Uno. You’ll learn about the working principle of heart rate sensors, how to set up the components, and how to create a heart rate monitoring system using Arduino.
Working Principle
Heart rate sensor modules typically use photoplethysmography (PPG) to detect changes in blood volume. The sensor emits light (usually green) into the skin and measures the amount of light that is reflected back. As blood flow varies with each heartbeat, the amount of reflected light changes. The sensor converts these variations into heart rate readings.
Components Required
To get started with this project, you’ll need the following components:
- Arduino Uno
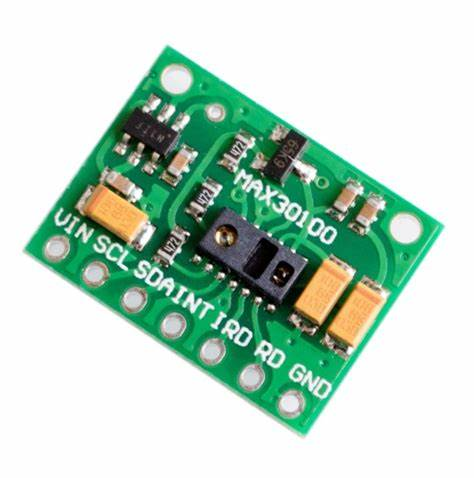
- Heart Rate Sensor Module (e.g., Pulse Sensor)
- Jumper Wires
- Breadboard
- USB Cable for Arduino
- Computer with Arduino IDE Installed
Wiring
Let’s connect the heart rate sensor module to the Arduino Uno. Follow these steps:
- Connect the power (VCC) pin of the sensor module to the 5V pin on the Arduino Uno.
- Connect the ground (GND) pin of the sensor module to any GND pin on the Arduino.
- Connect the signal (OUT) pin of the sensor module to analog pin A0 on the Arduino.
Your wiring should look something like this:
[Insert Wiring Diagram]
Code
Now, let’s write an Arduino sketch to read and display heart rate data using the sensor module. Upload the following code to your Arduino Uno:
// Define the analog pin for the heart rate sensor module

int heartRatePin = A0;


void setup() {

  // Initialize Serial communication

  Serial.begin(9600);

}


void loop() {

  // Read the analog value from the heart rate sensor

  int heartRateValue = analogRead(heartRatePin);


  // Convert the analog value to heart rate (beats per minute)

  int beatsPerMinute = map(heartRateValue, 0, 1023, 0, 150);


  // Print the heart rate to the Serial Monitor

  Serial.print("Heart Rate: ");

  Serial.print(beatsPerMinute);

  Serial.println(" BPM");


  delay(1000); // Delay for stability

}
This code reads the analog value from the sensor, maps it to beats per minute, and prints the heart rate to the Serial Monitor.
Conclusion
You’ve now learned how to interface a heart rate sensor module with the Arduino Uno for heart rate monitoring. This project provides a foundation for creating fitness trackers, health monitoring devices, and more.
FAQ
Q1: Can I use other heart rate sensor modules with Arduino Uno?
Yes, various heart rate sensor modules are compatible with Arduino Uno. Be sure to check the module’s datasheet and wiring instructions for compatibility.
Q2: How can I visualize and store heart rate data over time?
You can use additional components like an LCD display or an SD card module to visualize and store heart rate data. Modify the code to save data or display it on the chosen output device.
Troubleshooting Q&A
Q1: The heart rate readings are erratic. What should I check?
- Ensure the sensor is correctly placed on the skin, typically on a fingertip or earlobe.
- Verify that the sensor connections are secure.
- Check for interference or ambient light that might affect sensor accuracy.
Q2: I’m getting consistent zero readings. What could be the issue?
- Ensure the sensor is receiving power (VCC) and is properly grounded (GND).
- Check the sensor’s sensitivity adjustment, if available, to optimize readings for your application.
That concludes our comprehensive guide on using an Arduino Uno with a Heart Rate Sensor Module for heart rate monitoring. With this knowledge, you can create various health and fitness-related projects.

Leave a Reply