Introduction
The Arduino Uno, combined with an Infrared (IR) module, offers the exciting capability to control various devices remotely. In this guide, we will delve into the functionalities of an IR module, explore how it works, and learn how to use it with an Arduino Uno for remote control applications.
Working
An IR module operates by emitting and receiving infrared signals. It consists of an IR transmitter (LED) and an IR receiver (photodiode). When you press a button on an IR remote control, it emits a specific IR signal that is unique to each button. The IR receiver on the module detects this signal and decodes it to trigger an action, such as turning a device on or off.
Components Required
To get started, you’ll need the following components:
- Arduino Uno
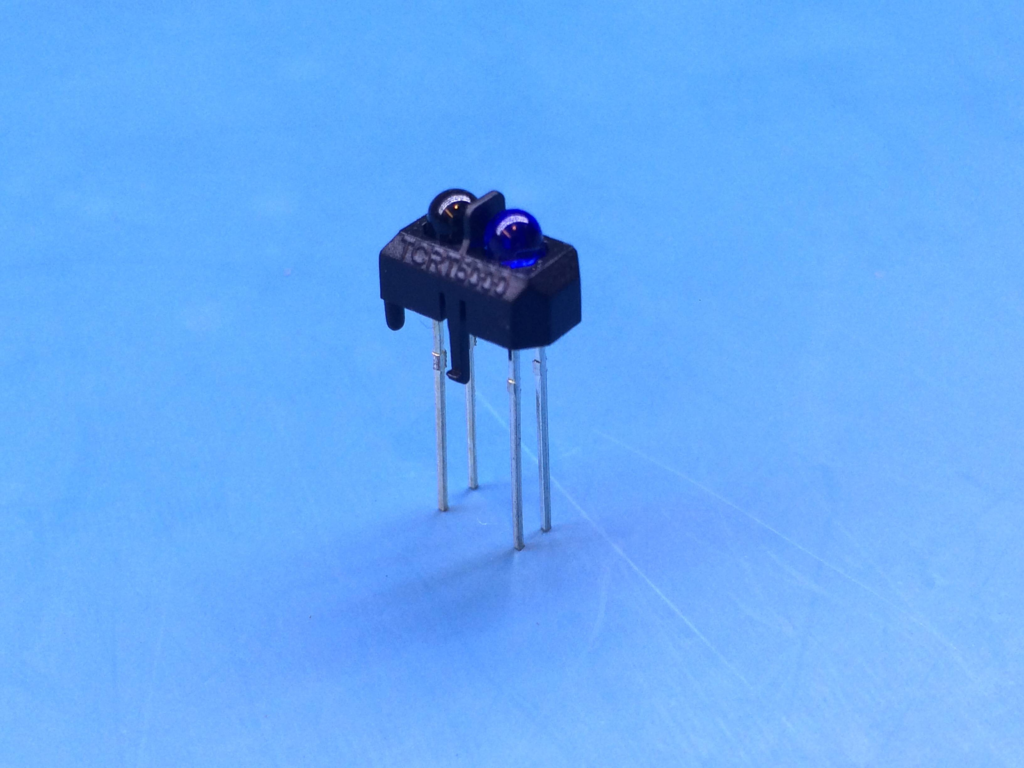
- IR Module (including an IR receiver and IR LED)
- Remote Control (for testing)
- Jumper Wires
- Breadboard (optional)
Wiring
Connect the IR module to the Arduino Uno as follows:
- Connect the module’s VCC pin to the 5V pin on the Arduino.
- Connect the module’s GND pin to any ground (GND) pin on the Arduino.
- Attach the module’s OUT pin to a digital pin on the Arduino, such as digital pin 7.
Code
Here’s a simple Arduino code example to decode and print the IR signals received from a remote control:
#include <IRremote.h>

int receiverPin = 7; // Define the digital pin connected to the IR module

IRrecv irrecv(receiverPin);

decode_results results;


void setup() {

  Serial.begin(9600);

  irrecv.enableIRIn(); // Enable the IR receiver

}


void loop() {

  if (irrecv.decode(&results)) {

    Serial.println(results.value, HEX); // Print the received IR code in hexadecimal

    irrecv.resume(); // Receive the next value

  }

}
Conclusion
The combination of an Arduino Uno and an IR module opens up a world of possibilities for remote control applications. Whether you want to control your TV, air conditioner, or any IR-equipped device, this setup provides a versatile platform for creating custom remote control solutions.
FAQ
Can I use any IR remote control with this setup?
- Generally, yes. Most IR remotes operate on specific frequency codes, and the IR module can decode signals from various remotes. However, compatibility may vary, so it’s essential to test and ensure compatibility with your remote.
How do I control devices with this setup?
- You can use the received IR codes to program your Arduino to send specific IR signals, allowing you to control devices. This process involves recording and replaying IR codes using the IR module.
Troubleshooting Q&A
I’m not receiving any IR signals. What could be the issue?
- Ensure that the connections are correct, the IR module is receiving power (5V), and the IR LED on the remote control is functioning correctly. Check that there are no obstructions between the module and the remote control.
The IR module is receiving signals, but they are not consistent. What should I do?
- Interference from other light sources, such as sunlight or fluorescent lighting, can disrupt IR signals. Ensure that you are in a well-lit environment with minimal IR interference.
By following this guide, you can harness the power of an IR module and Arduino Uno to create innovative remote control projects. Whether you want to build a universal remote or automate your home devices, this combination offers endless possibilities for control and automation.

Leave a Reply