
Introduction
Hello everyone! If you’re interested in electronics and have some basic programming knowledge, you’re in the right place. In this tutorial, I’ll guide you through creating an ultrasonic parking sensor using an Arduino board. This project is perfect for beginners, and it’s not only educational but also practical. We’ll be using an ultrasonic sensor to measure distances, and LED indicators will visually display the proximity of objects. Additionally, a buzzer will provide audio feedback.
Project Overview
The goal of this project is to build a parking sensor system. As you move closer to an object, the LED bar graph will light up, and the buzzer will produce different tones to indicate your distance from the object. This setup can be a cost-effective way to add parking sensors to your vehicle.
Required Components
- Arduino UNO
- Breadboard
- 74HC595 8 Bit Shift Register
- LEDs
- 220 Ohm Resistors
- Buzzer
- Ultrasonic Sensor
- Jumper Cables
- Use: The Arduino UNO serves as the microcontroller that controls the entire project, including reading data from the ultrasonic sensor and controlling the LED bar graph and buzzer.
- Quantity: 1 Arduino UNO board.

- Use: The breadboard is the platform for building the electronic circuit. It provides a convenient way to connect and test components without soldering.
- Quantity: 1 breadboard.
- Use: The 74HC595 shift register expands the number of output pins available on the Arduino, allowing you to control multiple LEDs efficiently.
- Quantity: 1 74HC595 shift register.

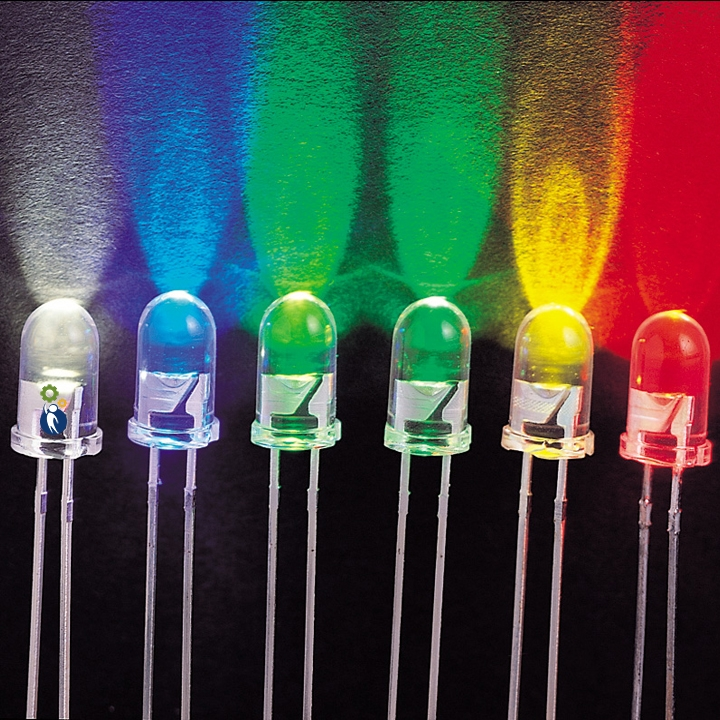
- Use: These LEDs are used to create a visual indicator bar graph that displays proximity information. Red, yellow, and green LEDs are used to represent different distance ranges.
- Quantity: 3 red LEDs, 3 yellow LEDs, and 2 green LEDs.
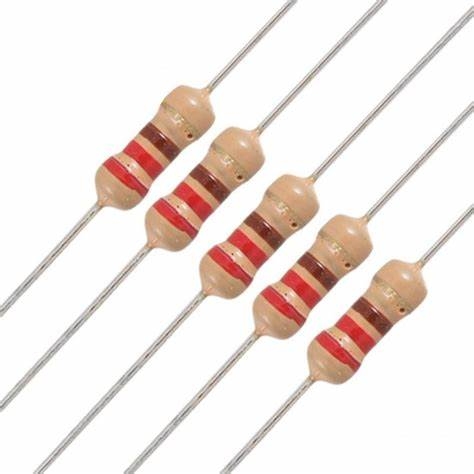
- Use: The 220-ohm resistors are used to limit the current flowing through the LEDs, preventing them from burning out when connected to the Arduino’s output pins.
- Quantity: 9 220-ohm resistors.
- Use: The buzzer produces audible feedback as you approach objects. It emits different tones to indicate proximity to obstacles.
- Quantity: 1 buzzer.

- Use: The HC-SR04 ultrasonic sensor is the heart of the project. It sends out ultrasonic pulses and measures the time it takes for them to bounce back, allowing it to calculate distances to nearby objects.
- Quantity: 1 HC-SR04 ultrasonic sensor.

- Use: Jumper wires are used to create electrical connections between components on the breadboard, ensuring that the circuit functions as intended.
- Quantity: Some jumper wires. The quantity may vary depending on your setup.

Circuit Schematics
To help you visualize how everything is connected, let’s take a look at the circuit diagram below. We’ll be using pins on the Arduino board and a shift register to control the LEDs.

Uploading the Code
Here’s the Arduino code you’ll need to upload to your board:
/*
 * Created by [Your Name]
 * Ultrasonic Parking Sensor with LED Bar Graph and Buzzer
 */
int buzzerPin = 4;        // Buzzer Pin
int triggerPin = 9;       // Trigger Pin
int echoPin = 10;         // Echo Pin
int shiftClockPin = 11;   // Shift Register Clock Pin
int shiftLatchPin = 12;   // Shift Register Latch Pin
int shiftDataPin = 13;    // Shift Register Data Pin

byte ledPatterns[9] = {
  B00000000,
  B00000001,
  B00000011,
  B00000111,
  B00001111,
  B00011111,
  B00111111,
  B01111111,
  B11111111,
};
int proximity = 0;
int duration;
int distance;

void setup() {
  // Serial Port
  Serial.begin(9600);

  pinMode(triggerPin, OUTPUT);
  pinMode(echoPin, INPUT);
  pinMode(shiftClockPin, OUTPUT);
  pinMode(shiftLatchPin, OUTPUT);
  pinMode(shiftDataPin, OUTPUT);
  pinMode(buzzerPin, OUTPUT);
}

void loop() {
  digitalWrite(shiftLatchPin, LOW);
  digitalWrite(triggerPin, HIGH);
  delayMicroseconds(1000);
  digitalWrite(triggerPin, LOW);
  duration = pulseIn(echoPin, HIGH);
  distance = (duration / 2) / 29.1;

  proximity = map(distance, 0, 45, 8, 0);

  if (proximity <= 0) {
    proximity = 0;
  } else if (proximity >= 3 && proximity <= 4) {
    tone(buzzerPin, 200000, 200);
  } else if (proximity >= 5 && proximity <= 6) {
    tone(buzzerPin, 5000, 200);
  } else if (proximity >= 7 && proximity <= 8) {
    tone(buzzerPin, 1000, 200);
  }
  shiftOut(shiftDataPin, shiftClockPin, MSBFIRST, ledPatterns[proximity]);
  digitalWrite(shiftLatchPin, HIGH);

  delay(600);
  noTone(buzzerPin);
}
The code handles the ultrasonic sensor’s input, LED display, and buzzer sounds. It calculates distances, maps them to LED patterns, and provides audio feedback as you get closer to objects.
Conclusion
Congratulations! You’ve just created an ultrasonic parking sensor using an Arduino board. This project not only helps you learn about sensors and microcontrollers but also has practical applications. Feel free to customize it or integrate it into your projects.
Watch the Video
For a visual demonstration of the project, check out our video tutorial [Insert Video Link].
Thanks for reading! If you have any questions or suggestions, please leave a comment. Don’t forget to subscribe to our blog and follow us on [Insert Social Media Links] for more exciting projects and tutorials.
Frequently Asked Questions

Leave a Reply