
Table of Contents:
- Introduction
- What is Pi-hole?
- Installing Raspberry Pi OS (Beginner Tips)
- Setting up Your Raspberry Pi 4
- Installing Pi-hole (Beginner Tips)
- Configuration (Beginner Tips)
- Accessing the Pi-hole Admin Console (Beginner Tips)
- Extending Pi-hole to Other Devices (Beginner Tips)
- Maintenance (Beginner Tips)
- Advanced Pi-hole Features (Optional, but with Beginner Tips)
- Conclusion
1. Introduction
Raspberry Pi 4 is a versatile mini-computer that can power various projects. In this guide, we’ll focus on one specific use case: setting up Pi-hole on your Raspberry Pi 4.

If you’re new to the world of Raspberry Pi and Pi-hole, don’t worry; we’ve got you covered with beginner-friendly tips and explanations along the way.
2. What is Pi-hole?
Pi-hole is an open-source network-level ad and tracker blocker. It acts as a DNS sinkhole, intercepting and blocking requests to known advertising and tracking domains, effectively removing ads from your network. Setting up Pi-hole on a Raspberry Pi 4 is a great way to enhance your online privacy and enjoy an ad-free browsing experience.
3. Installing Raspberry Pi OS
Before diving into Pi-hole installation, you need to prepare your Raspberry Pi 4. Here are some beginner tips:
- Use the Raspberry Pi Imager: If you’re new to flashing OS images to microSD cards, consider using the “Raspberry Pi Imager” tool. It simplifies the process.
- High-Quality microSD Card: Invest in a high-quality microSD card for smoother performance and longevity.
- Enable SSH: During the initial setup, enable SSH if you’re not using a display, keyboard, or mouse. SSH allows remote access to your Raspberry Pi from another computer.
4. Setting up Your Raspberry Pi 4
Now that you have Raspberry Pi OS installed, set up your Raspberry Pi 4 following standard procedures.
5. Installing Pi-hole
- Open Terminal : and enter this curl -sSL https://install.pi-hole.net | bash
- Don’t Panic: During Pi-hole installation, you’ll see a lot of text and commands; this is normal. Pi-hole’s installer handles most tasks automatically.
- Choose an Upstream DNS: You might be asked to choose an upstream DNS provider during installation. Select one you trust, such as Google’s (8.8.8.8) or Cloudflare’s (1.1.1.1) DNS servers.
- Troubleshooting: If you encounter errors, refer to Pi-hole community forums or online guides for solutions.
6. Configuration
- Router Configuration: If configuring your router to use Pi-hole as the default DNS server seems daunting, consider configuring individual devices manually to use Pi-hole. This allows you to test Pi-hole without altering your entire network.
7. Accessing the Pi-hole Admin Console
- On Browser : enter your Raspberry Pi’s IP address followed by “/admin” (e.g., http://your_pi_ip/admin) in url section
- Explore the Dashboard: The Pi-hole Admin Console provides insights into blocked domains and queries. Spend time exploring its features.
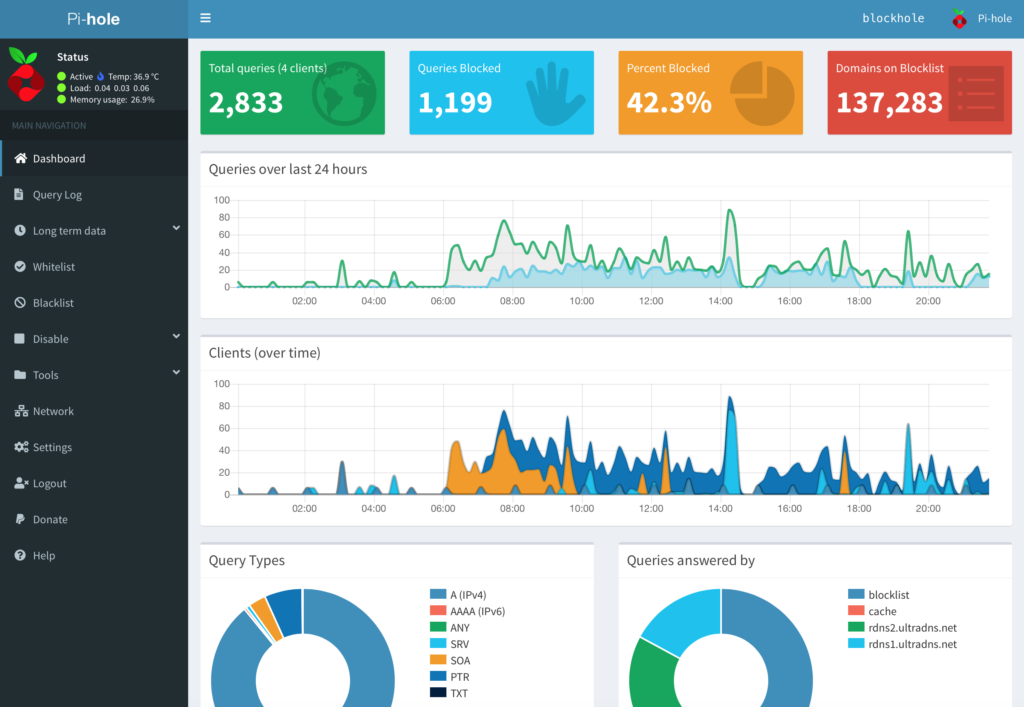
- Graphs and Statistics: Don’t be intimidated by unfamiliar graphs and statistics at first. Online resources often explain these metrics in detail.
8. Extending Pi-hole to Other Devices
- Device Configuration: To set up devices to use Pi-hole as their DNS server, look for “DNS” settings in your device’s network settings. Enter Pi-hole’s IP address.

- Patience: It may take time for Pi-hole to start blocking ads on all devices. Some cached DNS information needs to expire before all traffic goes through Pi-hole.
9. Maintenance
- Regular Updates: Schedule updates for Raspberry Pi OS and Pi-hole to keep them secure and up to date. Updates often resolve issues. Use this command in terminal sudo apt update
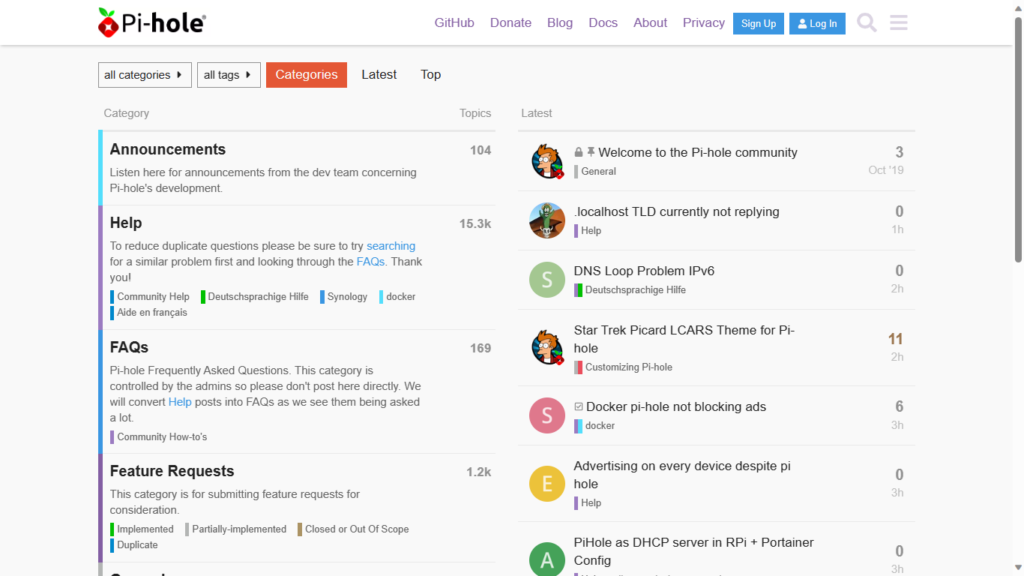
- Seek Help: If problems arise, don’t hesitate to ask for help from the Pi-hole community. They’re friendly and eager to assist new users.
10. Advanced Pi-hole Features (Optional)
- Explore Advanced Features: These advanced features enhance your Pi-hole experience but aren’t necessary for basic ad-blocking. Feel free to explore them once you’re comfortable with the core functionality.
- Backups: Before making significant changes, back up your Pi-hole configuration to restore settings if needed.
11. Conclusion
By following this comprehensive guide, even beginners can set up and use Pi-hole on a Raspberry Pi 4. Enjoy an ad-free and privacy-enhanced browsing experience while learning valuable skills in the process.

Leave a Reply