Arduino Pull-Up Resistors: What Are They and How to Use Them
In today’s discussion, we’ll demystify Arduino’s built-in pull-up resistors. You might have come across this feature in your Arduino projects without fully understanding what it does. Let’s shed some light on it.
What Are Pull-Up Resistors?
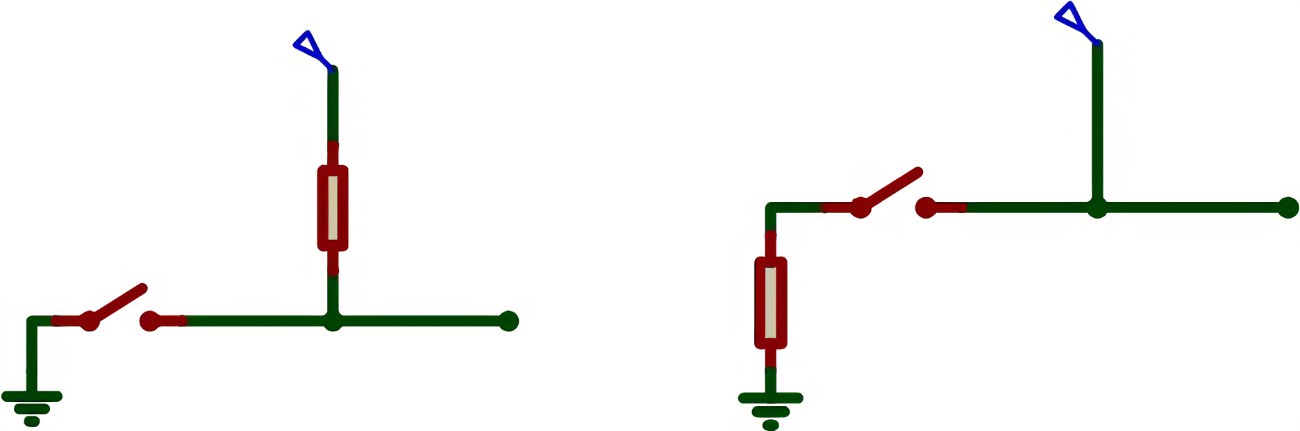
A pull-up resistor is a tiny electronic component that gently nudges the voltage of a wire towards its power source level when other components on the same line are inactive. Think of it as a helper that keeps things in check.

When all the other connections on that line are inactive, they sort of act like they’re not even there. In this “inactive” state, the circuit behaves as if it’s disconnected. That’s where the pull-up resistor steps in, ensuring the wire maintains a specific logic level, even when nothing else is happening.
Now, if another component on that line becomes active, it takes control and overrules the logic level set by the pull-up resistor. The pull-up resistor plays a crucial role in keeping the wire at a defined logic level, even when no other active devices are connected to it.
Why Should You Care?
Using this handy feature can actually save you from needing extra resistors in your projects. It simplifies your circuit and can make your life as a maker a bit easier.
A Visual Explanation
If you prefer a visual explanation, we’ve got you covered. Check out this straightforward video that breaks down what pull-up resistors are and how they work in your Arduino projects.
Conclusion
Thanks for taking the time to learn about Arduino pull-up resistors. We hope this explanation has made this often-misunderstood feature a bit clearer. If you found this helpful, please consider leaving a comment. If you enjoy our content, don’t forget to subscribe to our blog and follow us on Facebook for more insightful posts like this one.

Leave a Reply